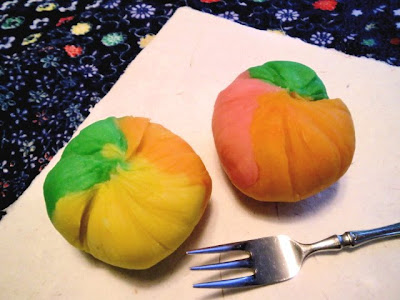
I started my wagashi adventures with the easier confections that women of my parents' generation, and to a lesser degree my own, made for their families at home. Nowadays these confections are readily available at any market or roadside stall, so today's busy young mothers are less inclined to make them from scratch. I meant to prove to myself, and to my readers, that these confections can be made easily, cheaply, and quickly, and that they are so much better for you and your kids than the pre-packaged, mass-produced junk we would eat otherwise.
Before long I was ready to try something a bit more challenging, and I decided to take a swing at Nerikiri, which is the basis for a whole wonderful world of delicately-shaped and subtly-colored confections. The basic ingredients are the familiar ones from earlier posts.
Nerikiri ingredients:
White bean an........ 300 grams (10 oz)
Shiratamako........5 grams (about 2 teaspoons)
Water.......1 tablespoon
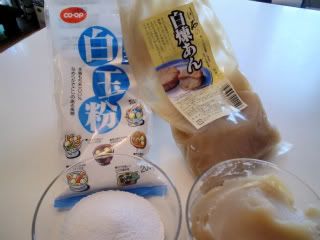
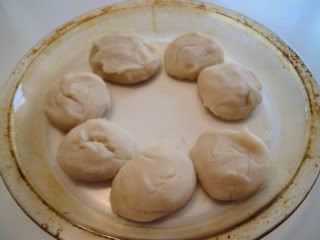
Place the shiratamako in a small bowl with the water, and stir till the rice flour is completely dissolved. Add the white bean an to the dissolved shiratamako and mix thoroughly. Divide the an mixture into 6~8 equal portions and lay, without overlapping, in a ring around the outer edge of a round microwave-safe dish (I used a pyrex pie dish).
Leave the dish uncovered, and nuke in microwave for 3 minutes so that the excess moisture will evaporate out of the an mixture. Depending on the power of your microwave, you may have to repeat this two or three times. I ended up microwaving at 500W for a total of 7 minutes before the mixture was dehydrated enough (you want to be able to knead it like playdough).
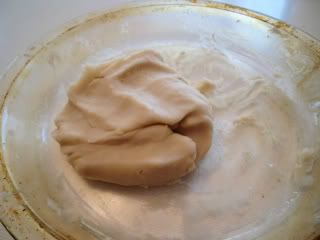
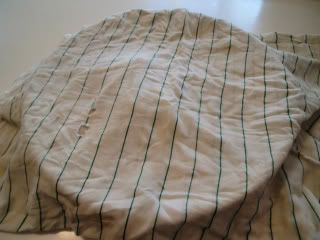
Take the an mixture out of the microwave and scrape the separate portions into one lump and knead together so that it becomes a smooth ball of dough. Cover this with a damp kitchen towel and let sit until cooled to room temperature.
Directions for Fall Leaves confection:
An dough from recipe above
Red Bean an..... enough to make 6~8 1-inch sized balls
Food dye
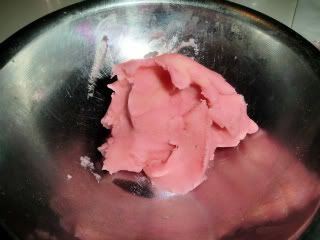
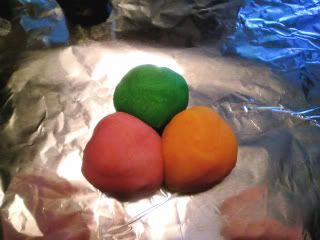
Divide the cooled nerikiri dough into three lumps roughly equal in size. Using food dye, color one lump green, another one yellow or orange, and the last one red or pink. I used powdered dye and dissolved the tiniest amount (1/8 teaspoon) with a drop or two of water before kneading the an dough into it. To make the orange color, I mixed yellow and red dye together before kneading the dough into it.
If the an dough gets too moist during this process, put it back into the microwave for a couple of minutes to dry it out enough to handle like playdough. Make 6~8 small balls from each color of dough. Place one ball of each color together (as shown below) and gently squeeze them so that they stick together. Place this on the palm of your hand and stretch it out without letting the colors mix up too much. Put a ball of red bean an in the middle and gently pull the colored dough around it till it is wrapped completely. Place this large dough ball in the center of a square of plastic wrap and twist the corners firmly at the top. (Traditionally, this is done with a thin cotton cloth.)
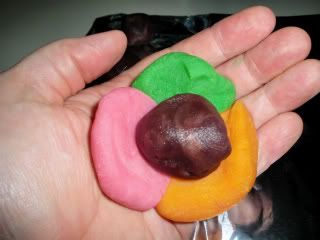
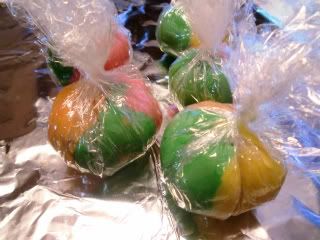
Let the confection settle for a while in a cool place (refrigerator would be good). When ready to serve, gently remove the plastic wrap so that the wrinkles formed in the confection are not disturbed. The idea is to evoke autumn by reproducing the tints of fall leaves. Experiment with different color intensities and combinations to suit your taste. I made some with just green and yellow dough, and others with just orange and red.
If you prefer a subtler color combination than shown here, experiment with dye products and techniques and you see what you can come up with. I will be posting several more in the nerikiri series of Japanese confections. The one shown here is one of the very simplest of these, but they can become quite fancy. Once you get the hang of nerikiri, there's so much you can do with it!


